Calendar Steps for Android Notifications: Difference between revisions
Jump to navigation
Jump to search
No edit summary |
No edit summary |
||
| Line 9: | Line 9: | ||
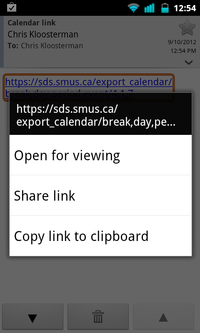
| Open the email you sent to yourself with the SDS calendar link. Tap and hold on the link, then choose "Copy link to clipboard" || [[File:android-stock-nonsamsung-step1.png|200px]] | | Open the email you sent to yourself with the SDS calendar link. Tap and hold on the link, then choose "Copy link to clipboard" || [[File:android-stock-nonsamsung-step1.png|200px]] | ||
|- | |- | ||
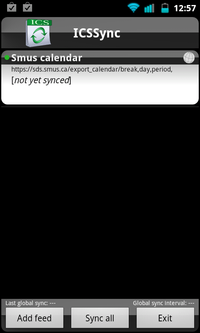
| After the app finishes installing, run the "ICSSync" app. Tap the "Add feed" button at the bottom of the screen. || [[File:android-stock-nonsamsung-step5.png|200px]] | | After the ICSSync app finishes installing, run the "ICSSync" app. Tap the "Add feed" button at the bottom of the screen. || [[File:android-stock-nonsamsung-step5.png|200px]] | ||
|- | |- | ||
| Tap on the URL field and clear out the text currently in there. Tap and hold on the "URL" field and choose Paste on the popup window. Also complete the "Local calendar name" field (with whatever you want the calendar to be called). Scroll down and tap the OK button. || [[File:android-stock-nonsamsung-step6.png|200px]] | | Tap on the URL field and clear out the text currently in there. Tap and hold on the "URL" field and choose Paste on the popup window. Also complete the "Local calendar name" field (with whatever you want the calendar to be called). Scroll down and tap the OK button. || [[File:android-stock-nonsamsung-step6.png|200px]] | ||


