SMUS Microsoft Teams - Initial Setup
Follow these steps to create your own Microsoft Teams site and populate it with people, channels, and content.
Log in
| Open the website https://teams.microsoft.com and enter your email address | 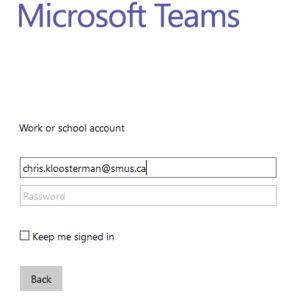
|
| Once redirected to the SMUS login page, enter your password and log in | 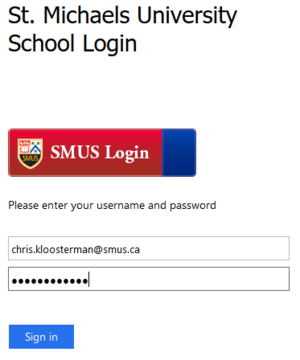
|
Create Team
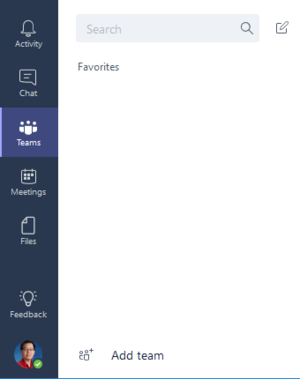
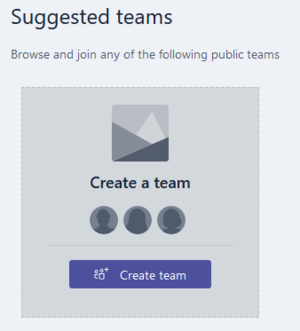
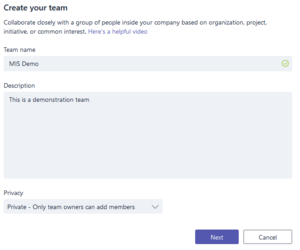
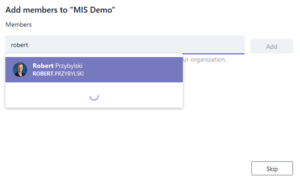
A Microsoft Team is a collaborative group. You can use a team as a departmental group, or any other collection of people working on a common task.
Create Channels
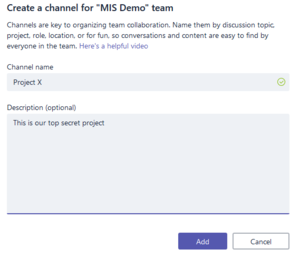
Inside each Microsoft Team, you can create channels that divide the team up into tasks. For example, you might create a channel to work on one specific project, or for a series of related projects.
Create Tabs
Each channel can have multiple tabs of information available. A tab can contain a word document, an easily editable wiki, a project planner, a website, or some documents. We've found the most useful tabs to be wiki and planner.
Wiki
Use a wiki tab to keep track of meeting minutes, or other text information that is easily separated into sections that needs to be edited by multiple people.
| In your channel, click the "+" sign along the top list of options (Conversation, Files, + in this example), then choose Wiki | 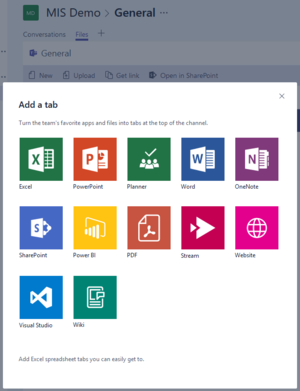
|
| Enter the name of the wiki tab, then click Save | 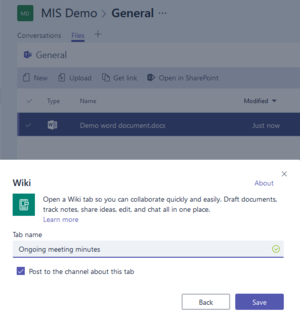
|
Planner
Use a planner tab to keep track of a todo list. You can keep multiple buckets of tasks, with deadlines, assignees, and subtask lists for each task.
| In your channel, click the "+" sign along the top list of options (Conversation, Files, + in this example), then choose Planner | 
|
| Enter the name of the planner tab, then click Save | 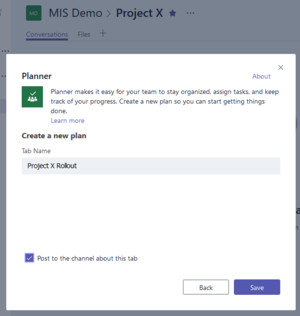
|
Delete Tabs
If you no longer need a tab, or accidentally create one that doesn't need to be there, you can delete it.
| Click the down arrow next to the tab to be deleted, then click Remove | 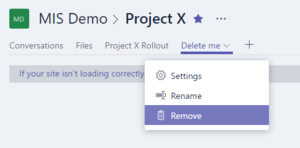
|
